Introduction
Do you remember when you said, “When ChatGPT first came out, it felt like magic. Now, it feels like a chore.” Back then, you thought chatbots were the biggest invention in AI. Meanwhile, some startups and freelancers started using AI automation workflows. Through this automation, work became so easy that chatbots don’t even seem necessary anymore because these workflows handle everything completely, like (Data Entry, Web Scraping, Email Management, Code Generation, Document Summarisation, Market Research, Social Media Scheduling, Lead Qualification, Invoice Processing, Error Debugging).
And in 2026, AI is no longer just a text generator. You are tired of constantly generating text to reply to emails and doing manual labour. You want AI that handles all these tasks, is easy to create, and can be set up in just a few clicks. You won’t believe it, but I have prepared a fully functional AI workflow in just 5 to 10 minutes, and I think this is the real Agentic AI Tools Revolution in 2026, which I am going to explain to you today.
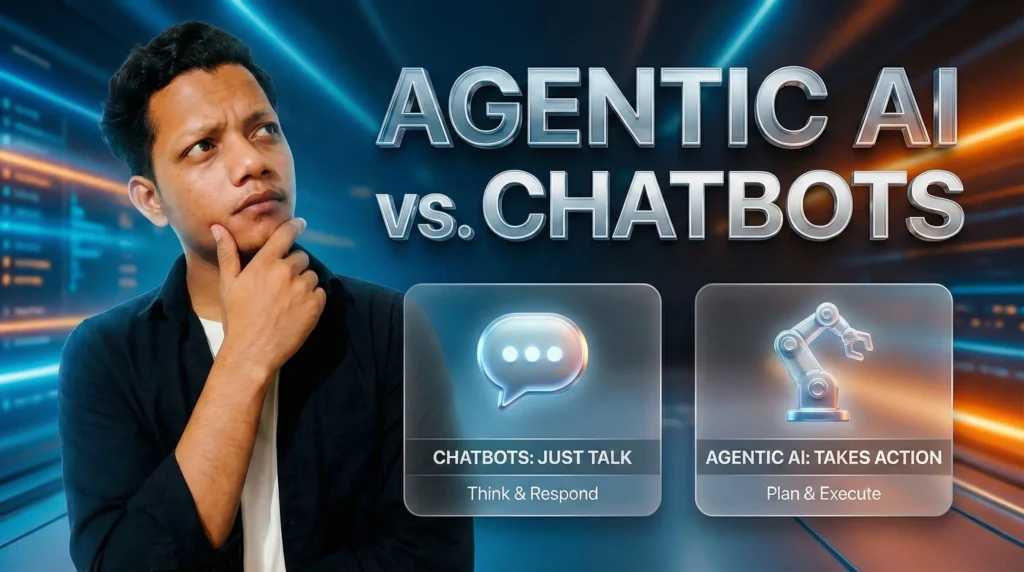
Table of Contents
What is Agentic AI? (And Why You Should Care)
Agentic AI is an AI that does not just reply to messages but actually takes action and completes tasks for you. A chatbot only provides information, while an agent can plan steps, utilize tools, connect with software, and execute tasks from start to finish. Chatbots are reactive and wait for your next question, but agents are goal-driven and work independently once you give them an objective. A chatbot helps you understand what to do, but an agent enables you to get it done, which is why Agentic AI is more useful for saving time, automating work, and scaling real-world tasks.
- Example:
- Chatbot: Tells you how to write a Python script.
- Agent: Writes the script, tests it, fixes the bugs, and deploys it to your server.
Best AI Agents and Platforms for Automation Workflows (Simple, Powerful, and Practical)
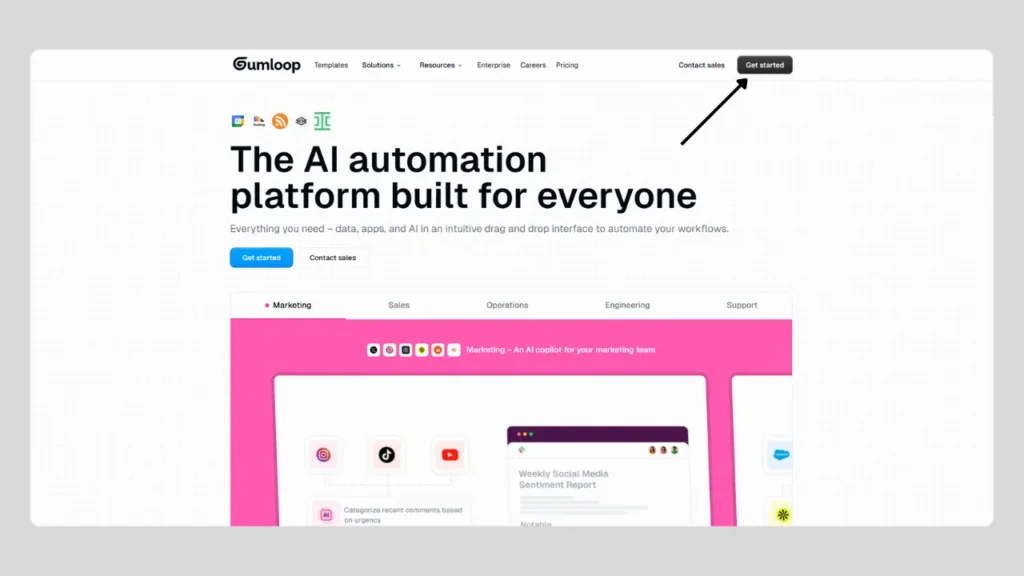
1) Gumloop: The “Zapier” of the AI Era
Problem: Zapier is excellent for simple logic but struggles with “thinking” tasks.
Why Gumloop: Gumloop lets you drag-and-drop AI nodes.
I created an Email automation workflow using Gumloop. To build it, I chatted with Gumloop’s AI and used simple instructions. With its help, I no longer need to reply to my emails manually, and it is as easy as chatting. It also comes with free features, and, apart from email replies, you can create many other workflows, such as email sorting and labelling, lead follow-up, customer support automation, and meeting scheduling.
How do I create Email Automation with Gumloop?
I made this workflow fully functional in just seven steps.
Step 1: Sign up and get created
First, I completed the basic required steps, such as signing up on Gumloop and logging in to my account.
After logging in, I clicked on the “Get Started” button to begin.
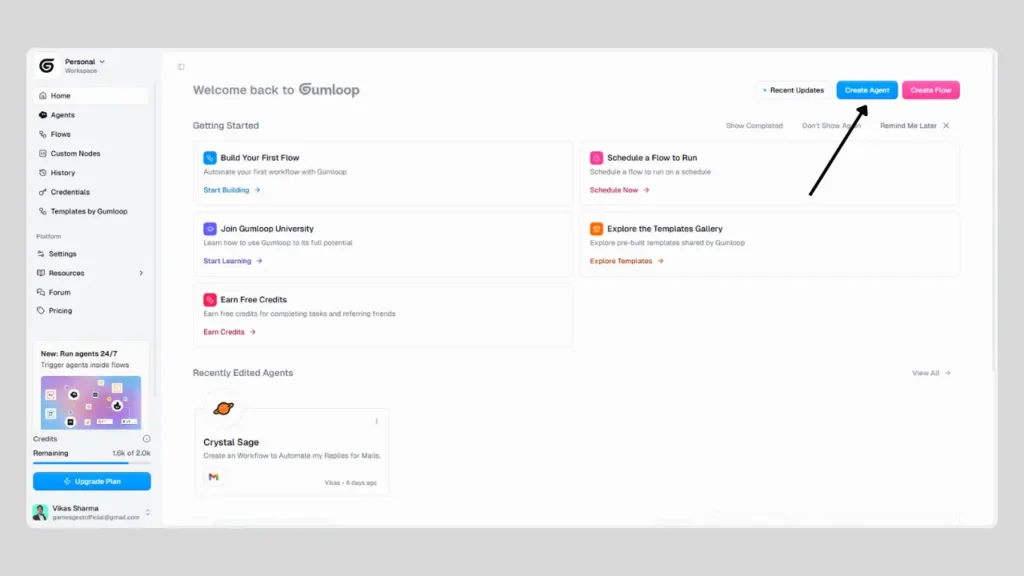
Step 2: Create a new workflow
After that, I clicked on “Create New Workflow” to start building my automation.
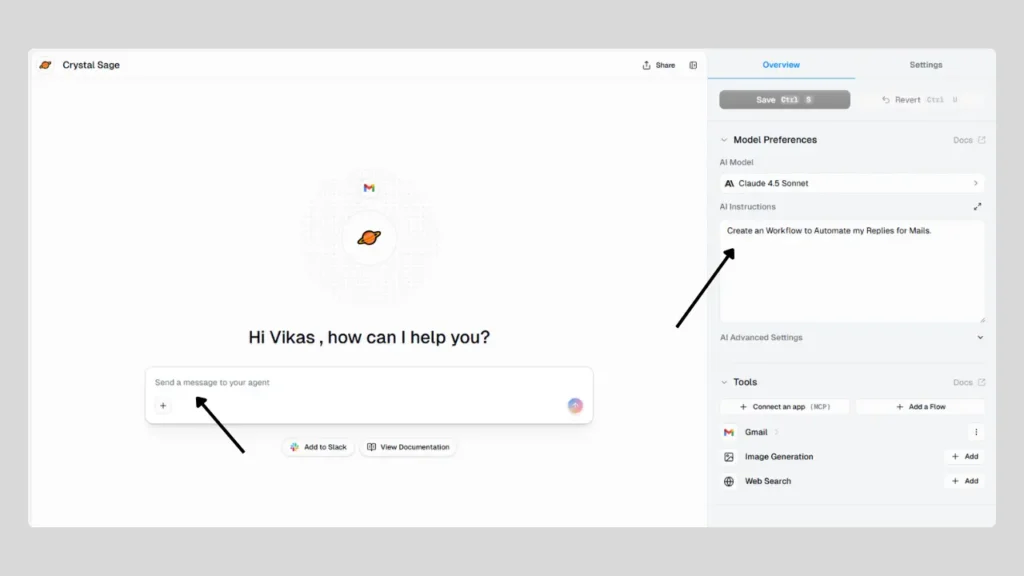
Step 3: Give Gumloop AI the task
In the instructions box, I specified exactly what I wanted Gumloop AI to do.
I wrote:
“Create a workflow to automate my thanks reply to the sender.”
This helped Gumloop understand the goal of my workflow.
Step 4: Enable the Email app
Then I enabled the Email App in Gumloop to connect to my Gmail and handle incoming emails.
Step 5: Chat with Gumloop AI to refine the workflow
After an Email, I chatted with Gumloop AI and gave more explicit instructions like:
“Create a workflow to send my reply to the sender automatically.”
I also set up a custom reply message to be sent automatically to people.
Step 6: Connect and verify Gmail
Then I went to the Credentials section in Gumloop and verified my Gmail account so Gumloop could access it securely.
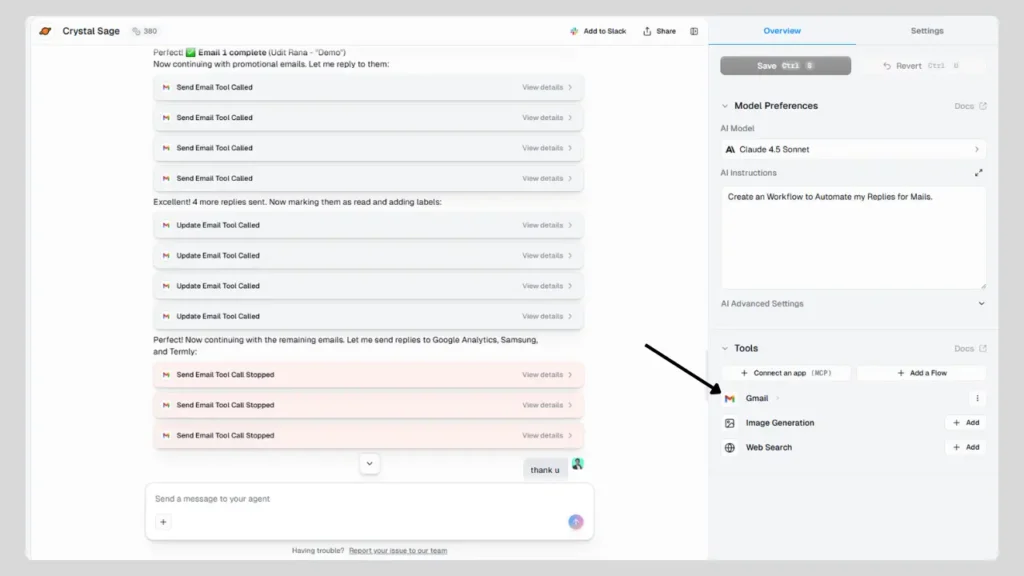
Step 7: Workflow ready
Once Gmail was verified, my automation workflow was ready and active.
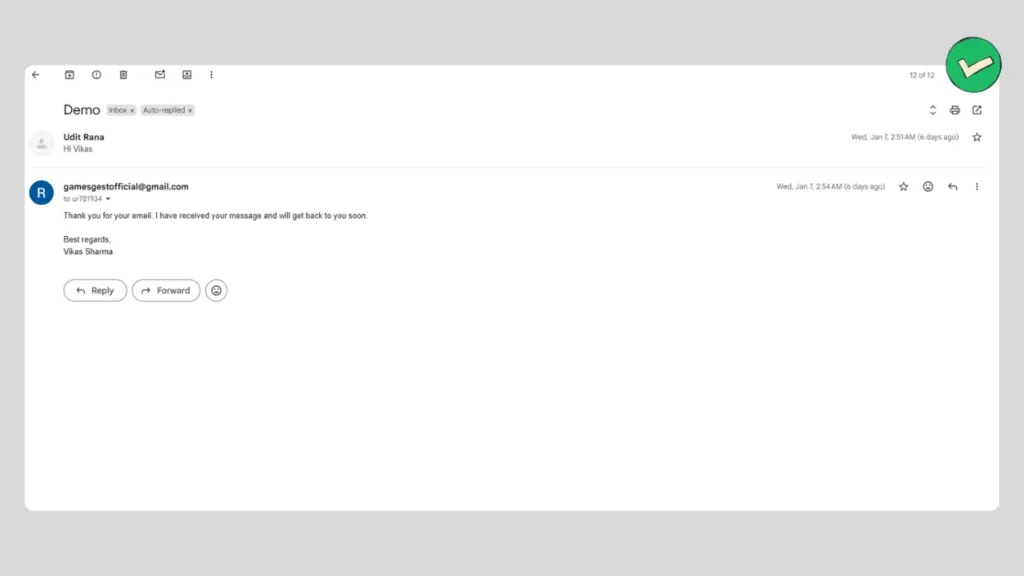
Now, whenever someone sends me an email, they automatically receive a reply thanking them.
If you want to see how it works, you can send a message to this email (Gamesgestofficial@gmail.com) and check my auto-reply 😊
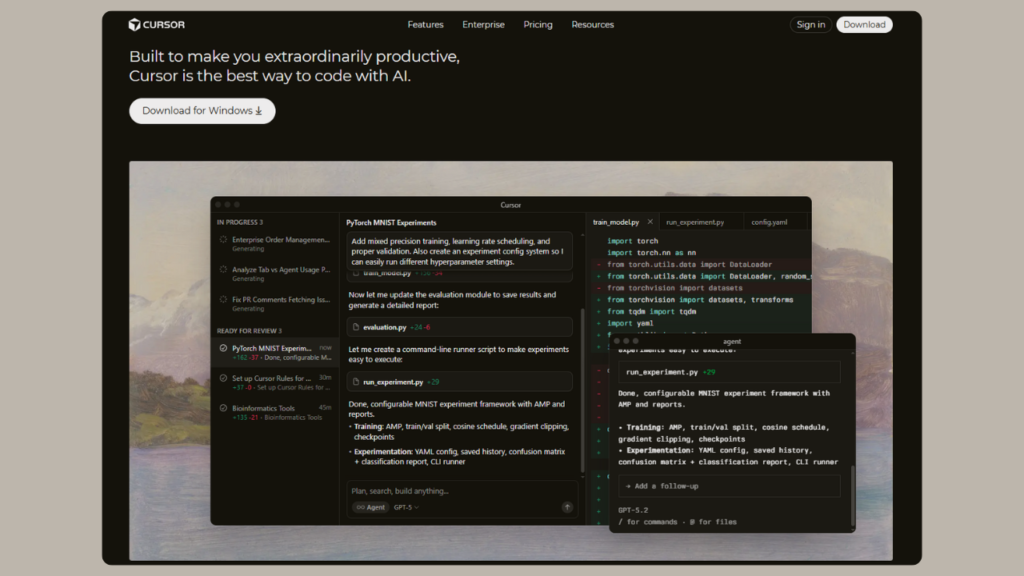
2) Cursor (Composer): The AI Software Engineer
Problem: Coding with ChatGPT means constant copy-pasting and “Context switching.”
Why Cursor: Cursor is a code editor where the AI writes directly into your files.
Cursor AI is a modern AI agent. Normally, this agent is paid, but some features are available for free, and its free features are amazing compared to ChatGPT and Gemini. I used this AI agent to develop an e-commerce website, and I created that website with just a few instructions and commands. It feels just like developing something with vibe coding, but this technology is a bit more advanced. After joining, you get around 150 to 200 tokens, and with those, you get integration with the best AI models like ChatGPT 5, Claude Opus, Gemini 3 Pro, Llama, and many others that make your work very easy.
Unfortunately, if any problem arises in the code, you need some basic coding knowledge.
How I Built a T-Shirt Store in Minutes with Cursor AI (No Coding Required)
Forget writing code line-by-line. With Cursor AI, you don’t write code; you just describe the “vibe,” and the AI does the heavy lifting.
I recently built a fully functional T-shirt e-commerce store in minutes using Cursor’s free tier. Here is exactly how you can do it too, even if you are just a beginner.
Step 1: Download & Install
- Go to Cursor.com (it’s a VS Code fork, so it looks familiar).
- Download the installer for your OS (Mac/Windows).
- Login: Sign up to unlock your free quota. You immediately get around 150-200 fast tokens to use with premium models like GPT-5, Claude Opus, and Gemini 3 Pro.
Step 2: The “Composer” Setup (The Magic Button)
- Once installed, don’t just type code. That’s the old way.
- Open a new folder for your project (e.g., TShirt-Store).
- Press Cmd + I (Mac) or Ctrl + I (Windows).
- This opens Composer Cursor’s “Agentic” mode that can write multiple files at once.
Step 3: Build Your T-Shirt Store (The “Vibe” Prompt)
In the Composer bar, type this exact prompt:
"Create a modern, dark-mode e-commerce landing page for a T-Shirt brand called 'StreetWear'. It should have a hero section with a 'Shop Now' button, a grid gallery showing 4 t-shirt designs with prices, and a working 'Add to Cart' counter in the navbar. Use HTML, Tailwind CSS, and simple JavaScript."Step 4: Watch the Magic
The cursor will pause for a second, then automatically create all the files (index.html, style.css, script.js).
- Click “Accept All” to save the code.
- Open the index.html file in your browser. You now have a working site!
Step 5: Edit with AI (No Coding Needed)
Want to change something? Don’t touch the code.
- Highlight the “Shop Now” button code.
- Press Cmd + K.
- Type: “Make this button neon green and add a hover glow effect.”
- Cursor updates the code instantly.
3) Perplexity Spaces: The Knowledge Agent
Problem: Standard Google searches are “amnesiac” every time you search; you start from scratch. You end up with 20 tabs open, scattered PDF files, and no way to connect your new findings with your previous research.
Why Perplexity: It doesn’t just search; it organizes projects and “remembers” your preferences across searches.
Until now, we knew that most chat-based AI systems are trained on LLM models, but Perplexity is different. Perplexity Spaces runs on RAG, which stands for Retrieval Augmented Generation. It combines live web search with your uploaded files. It uses vector search to understand context beyond simple keywords and uses top LLM models like GPT-4o and Claude to generate accurate answers with sources, customized for your project.
That is why Perplexity brings real-time data and gives better answers. Here, we will learn about its Knowledge Agent.
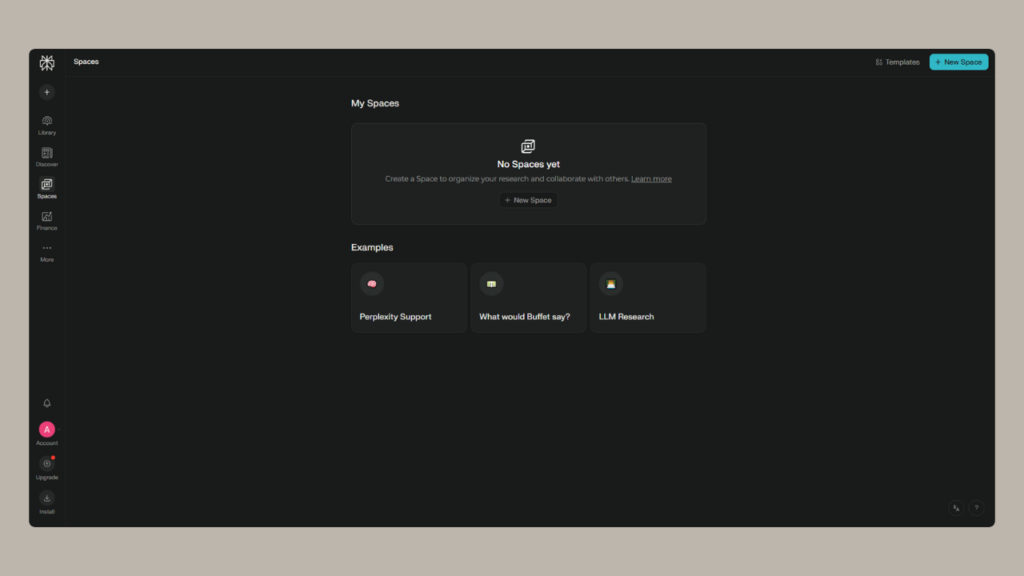
How to Create Your First Space (In 4 Easy Steps)
- Go to the Library, open Perplexity, and look at the menu on the left side. Click on “Library” (it usually looks like a bookmark or folder icon).
- Hit the Plus Button (+): You will see a section called “Collections” or “Spaces”. Click the big “+” sign or the “Create New” button.
- Give it a Vibe (Name & Instructions):
- Name: Give it a cool name (e.g., “My T-Shirt Business”).
- Emoji: Pick a fun icon (👕).
- AI Instructions: This is the secret sauce. Tell it how to behave.
- Example: “You are my Senior Marketing Manager. Always give me answers that are short, professional, and focused on selling t-shirts to Gen Z.”
- Feed It (Upload Files): This is the best part. You will see an option to “Upload Files”.
- Drag and drop your project PDFs, your brand guidelines, or your rough notes here.
- Now, whenever you ask a question in this Space, it will read those files first!
That’s it! You now have a private AI expert who knows your business inside out. Just start chatting!
Final Verdict
We are all familiar with AI chatbots, and almost everyone uses them daily. But AI agents are new, and the concept of automation is also very good. The most important thing is that it has now started being used in corporate environments. This means if you spend some time learning it, your knowledge will increase, and your career growth will also be very strong.
From my experience, Gumloop AI is the best option to start with, and it is very easy to understand. So now simply start with Gumloop and move forward. Thanks for visiting.